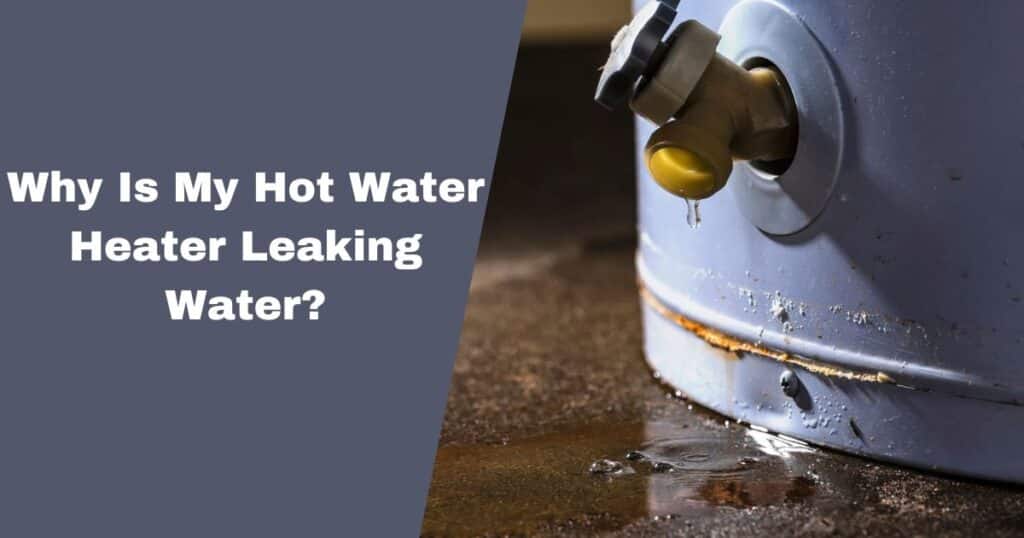
Water heaters are essential for providing hot water in our homes, but when they start leaking, it can be a major headache. Coming home to find a puddle around your water heater is never a pleasant surprise and can signal a serious issue that needs prompt attention.
Ignoring a leak can lead to costly water damage, so it’s crucial to address the problem as soon as possible. In this comprehensive guide, we’ll explore the most common reasons why hot water heaters leak and provide step-by-step solutions to help you troubleshoot and resolve the issue.
Is It Really a Leak? Ruling Out Condensation
Before diving into leak detection and repair, it’s important to rule out condensation as the culprit. Condensation can sometimes be mistaken for a leak, especially with gas or high-efficiency water heaters. Here’s how you can determine if it’s just condensation buildup:
For Gas Water Heaters:
- Turn off the gas control valve to the “OFF” position.
- Wait several hours and check if there’s new moisture accumulating under the heater.
- If there’s no new water, the heater was likely just condensing, which is harmless.
For Electric Water Heaters:
- Wipe down the exterior of the water heater tank to remove any moisture.
- Check back in a few hours to see if there’s an even pattern of moisture across the tank’s surface.
- If the moisture is evenly distributed, it’s likely just condensation caused by the hot tank in a cooler room.
It’s also a good idea to check if the source of the water is coming from other nearby appliances or systems, such as your HVAC unit, water softener lines, or pipes located above or below the water heater.
Safety First – How to Properly Shut Off Your Water Heater
If you’ve determined that there’s an actual leak, it’s crucial to take safety precautions before proceeding. Water and electricity don’t mix, so you’ll need to shut off the power or gas supply to your water heater.
For Gas Water Heaters:
- Locate the gas shut-off valve, typically found near the top of the heater or behind the access panel.
- Follow the instructions on the heater or consult the owner’s manual for specific guidance on turning off the gas supply.
- Never attempt to repair gas lines yourself if you’re not qualified. Call a professional for assistance with gas-related issues.
For Electric Water Heaters:
- Find the circuit breaker that controls the power supply to your water heater in your home’s electrical panel.
- Flip the breaker to the “OFF” position to cut off the electricity supply.
- If you’re unsure which breaker controls the water heater, look for labels or consult a professional electrician.
It’s also a good idea to turn off the cold water supply to the heater by locating the cold water inlet valve (usually marked with blue paint or a blue handle) and turning it to the closed position. This will prevent any further water from entering the tank and causing additional leaks.
The Most Common Culprits Behind Leaking Water Heaters

Once you’ve safely shut off the power and water supply, it’s time to identify the source of the leak. Here are some of the most common reasons why hot water heaters leak:
1. Faulty/Old Pressure Relief Valve
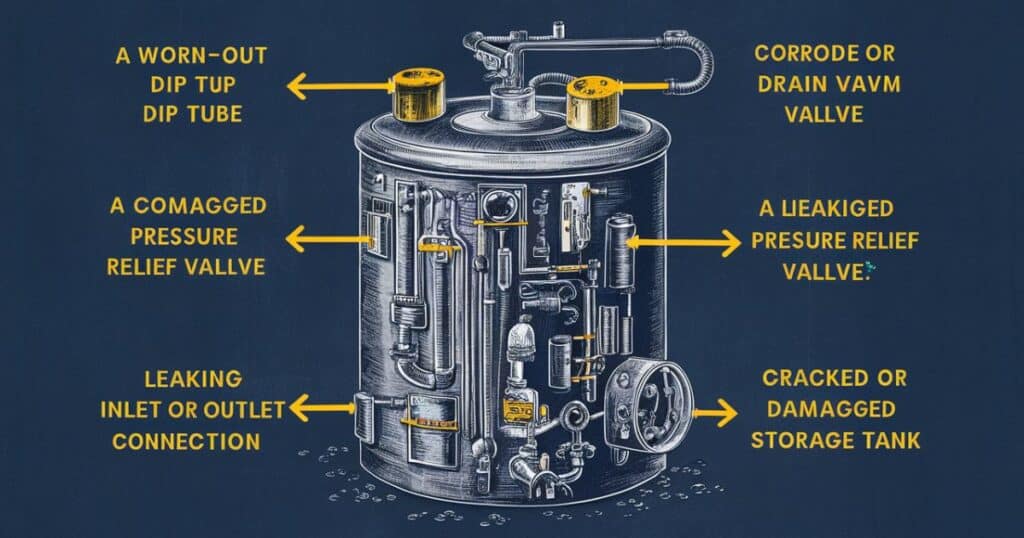
The pressure relief valve is a crucial safety component that releases pressure from the tank when it gets too high. Over time, these valves can become corroded, stuck, or simply wear out, causing them to leak or fail to operate properly.
How to Inspect and Replace:
- Locate the pressure relief valve, typically on the side or top of the tank.
- Place a bucket or towel beneath the valve to catch any water discharge.
- Carefully lift the lever on the valve to see if water flows out freely. If it doesn’t, the valve needs to be replaced.
- To replace, turn off the power/gas and water supply, then unscrew the old valve and install a new one, following the manufacturer’s instructions.
2. Cracked or Corroded Tank
Water heater tanks are designed to last for years, but they’re not invincible. Over time, sediment buildup, high water pressure, and general wear and tear can cause cracks or corrosion in the tank, leading to leaks.
Signs of a Cracked or Corroded Tank:
- Rust or discoloration on the tank’s surface
- Age of the unit (tanks typically last 8-12 years)
- Leaking from the base of the tank
Unfortunately, if the tank itself is compromised, the only solution is to replace the entire water heater.
3. Loose Pipe Fittings/Connections
Leaks can also originate from the various pipe fittings and connections that bring cold water into the tank or allow hot water to flow out.
Where to Check:
- Hot and cold water inlets (top of the tank)
- Drain valve (typically near the bottom)
- Temperature and pressure relief valve connections
How to Fix:
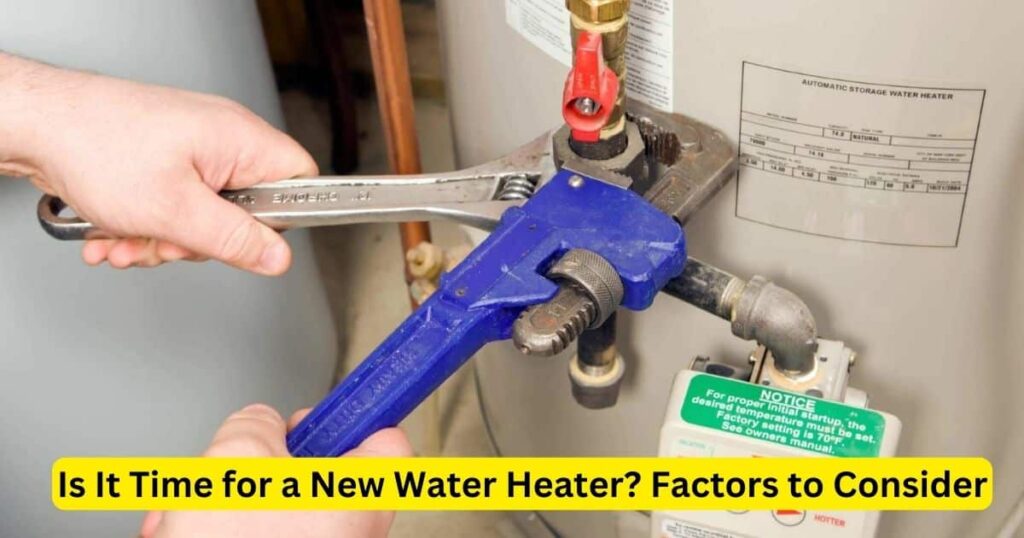
- Use a wrench to tighten any loose fittings or connections.
- If tightening doesn’t resolve the leak, you may need to replace the faulty part or apply a new sealant or Teflon tape.
Other Possible Causes
While the issues above are the most common, there are a few other potential reasons for leaks:
Anode Rod Deterioration: The anode rod is a sacrificial metal rod that helps prevent corrosion inside the tank. If it becomes depleted or fails, it can contribute to tank corrosion and leaks. Replacement by a professional may be necessary.
Sediment Buildup: Over time, minerals and sediment can accumulate in the tank, leading to clogs, reduced efficiency, and potentially leaks. Annual flushing and maintenance can help prevent this.
Read More: How To Rent An Apartment With No Credit: A Comprehensive Guide
Taking Preventative Measures for Long-Term Safety
Addressing a leak promptly is essential, but it’s also important to take steps to prevent future issues and prolong the life of your water heater.
Regular Inspections: Routinely check your water heater for any signs of leaks, rust, or damage. Catching issues early can save you from more extensive (and expensive) repairs down the line.
Annual Flushing and Maintenance: Flushing your water heater annually can help remove sediment buildup and mineral deposits, improving efficiency and reducing the risk of leaks. It’s also a good idea to have a professional check and replace the anode rod as needed.
Consider Replacement: If your water heater is more than 8-10 years old or requires frequent repairs, it may be time to consider replacing it. Newer models are more energy-efficient, have better safety features, and can save you money on utility bills in the long run.
By taking these preventative measures, you can ensure your water heater operates safely and efficiently for years to come.
Is It Time for a New Water Heater? Factors to Consider

Sometimes, a leak can be a sign that your water heater has reached the end of its lifespan and needs to be replaced. Here are some factors to consider when deciding if it’s time for a new unit:
Age of the Unit: Traditional tank water heaters typically last 8-12 years, while tankless models can last up to 20 years with proper maintenance.
Frequency of Repairs: If you find yourself calling for water heater repairs more than once a year, it may be more cost-effective to replace the unit.
Rising Energy Costs: An old, inefficient water heater can increase your energy bills significantly. Upgrading to a newer, more efficient model can help offset the replacement cost through energy savings.
Safety and Efficiency Upgrades: Newer water heaters come with improved insulation, safety features (like automatic shut-off valves), and energy-saving technologies that can make them a worthwhile investment.
Household Needs: If your current water heater isn’t meeting your household’s hot water demands, it may be time to upgrade to a larger tank or consider switching to a tankless system.
Before making a decision, it’s a good idea to consult with a professional plumber or water heater technician to assess your specific situation and recommend the best course of action.
Don’t Try This at Home – When to Call in the Pros (continued)
- Major Repairs or Replacements: Complex tasks like replacing a water heater tank or installing a new unit should be handled by professionals. They have the proper tools, knowledge, and (often required) permits to do the job correctly.
- Permit Requirements: Many jurisdictions require permits for water heater replacements or significant repairs. Professionals will be familiar with local codes and can ensure everything is up to code.
- Warranty Considerations: Having a new water heater installed by a certified professional may be required to maintain the manufacturer’s warranty coverage.
While some minor repairs like tightening fittings or replacing a pressure relief valve can be DIY-friendly for experienced homeowners, it’s generally advisable to call in an expert when in doubt. This can save you from potential safety hazards, costly mistakes, and ensure the job is done right the first time.
When hiring a professional, be sure to screen for properly licensed, insured, and reputable water heater technicians or plumbing companies. Check reviews, get referrals, and don’t be afraid to ask about their experience and credentials.
Water Heater Maintenance 101 – Easy Tips to Prolong Its Life

Proper maintenance is key to maximizing the lifespan and efficiency of your water heater. Here are some simple tips to incorporate into your home maintenance routine:
Adjust the Temperature Setting: Most manufacturers recommend setting the thermostat to 120°F (49°C) or lower. This optimal temperature range provides sufficient hot water while reducing energy consumption and preventing scalding risks.
Insulate Older Units: Wrapping an insulation blanket around older water heaters can significantly reduce heat loss and energy costs. Be sure to leave the air inlet and top of the tank uncovered.
Check the Anode Rod: The sacrificial anode rod helps prevent corrosion inside the tank. Inspect it annually and replace it when more than 6 inches of core wire is exposed.
Flush the Tank: Flushing your water heater at least once a year removes sediment buildup that can cause clogs, corrosion, and reduced efficiency. Simply attach a garden hose to the drain valve and flush until the water runs clear.
Create a Maintenance Schedule: Establish a routine for checking your water heater, testing the pressure relief valve, and performing any necessary maintenance tasks. Sticking to a schedule can help catch issues early and extend the unit lifespan.
By following these simple maintenance steps, you can help ensure your water heater operates safely, efficiently, and with fewer breakdowns or costly repairs.
Signs You Can’t Ignore – It’s Time for Water Heater Replacement
Even with proper maintenance, all water heaters will eventually need to be replaced. Here are some telltale signs that it’s time to start shopping for a new unit:
- Chronic Leaking: If your water heater is consistently leaking, despite attempts to repair it, that’s a strong indicator that the tank is compromised and needs to be replaced.
- Reactive Interior Surface/Foul Odors: A rotten egg smell or discolored hot water can signal advanced corrosion inside the tank that can’t be repaired.
- Insufficient Hot Water: If you find yourself running out of hot water more quickly, even after adjusting the temperature, it could mean the tank or heating elements are failing.
- Showing Its Age: Based on your local water conditions, some water heaters may only last 6-8 years before needing replacement.
- Rumbling or Popping Noises: Excessive sediment buildup can cause rumbling or popping sounds as the water is heated, indicating the unit is long overdue for a flush or replacement.
If you notice any of these signs, it’s time to start researching new water heater options and budgeting for the replacement cost. Addressing the issue promptly can prevent emergency situations and extensive water damage.
Remember, regular maintenance and timely repairs or replacements are essential for ensuring the safety, efficiency, and longevity of your home’s water heating system.
That covers the key sections and important details to include in a comprehensive blog post on troubleshooting and addressing a leaking water heater. Let me know if you need any additional sections, examples, or if you’d like me to elaborate on a particular point further.
Summary
A leaking water heater demands prompt attention to avoid costly water damage and potential safety hazards. By following the step-by-step troubleshooting guide outlined here, you can diagnose and address common leak causes like faulty valves, loose fittings, or sediment buildup.
Proper maintenance like annual flushing and anode rod replacement prolongs your unit’s lifespan. When repairs exceed your DIY abilities or the tank is compromised, enlisting a licensed professional ensures the job is done safely and correctly.
Don’t ignore warning signs of age or disrepair – prioritize timely water heater repair or replacement for efficient hot water supply and peace of mind.


